Camper Trailer Setup and Maintenance: Tips for New Owners

Introduction to Camper Trailers
A camper trailer offers the freedom to explore the great outdoors with the comforts of home. It is a towable unit that provides sleeping space and amenities for camping. Understanding the setup and maintenance of your RV ensures a safe and enjoyable experience.
Hitching Your Camper Trailer
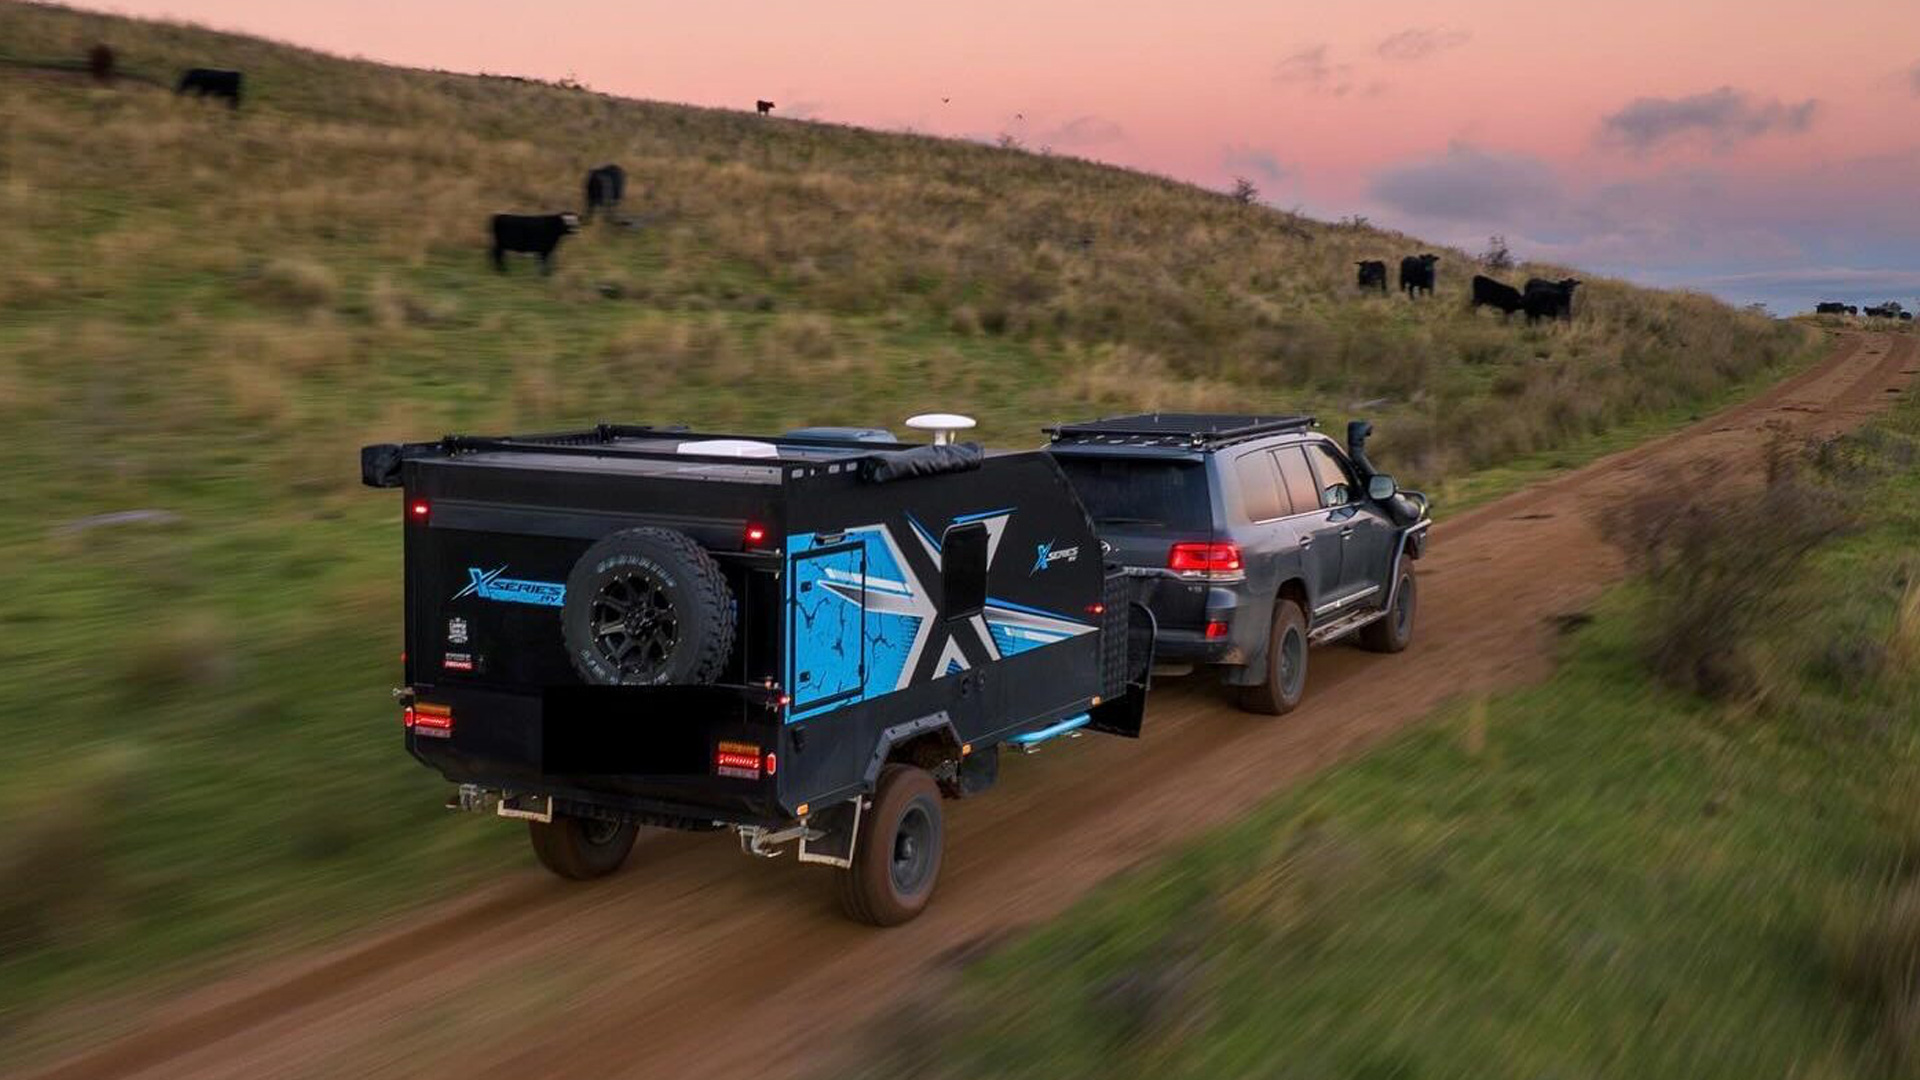
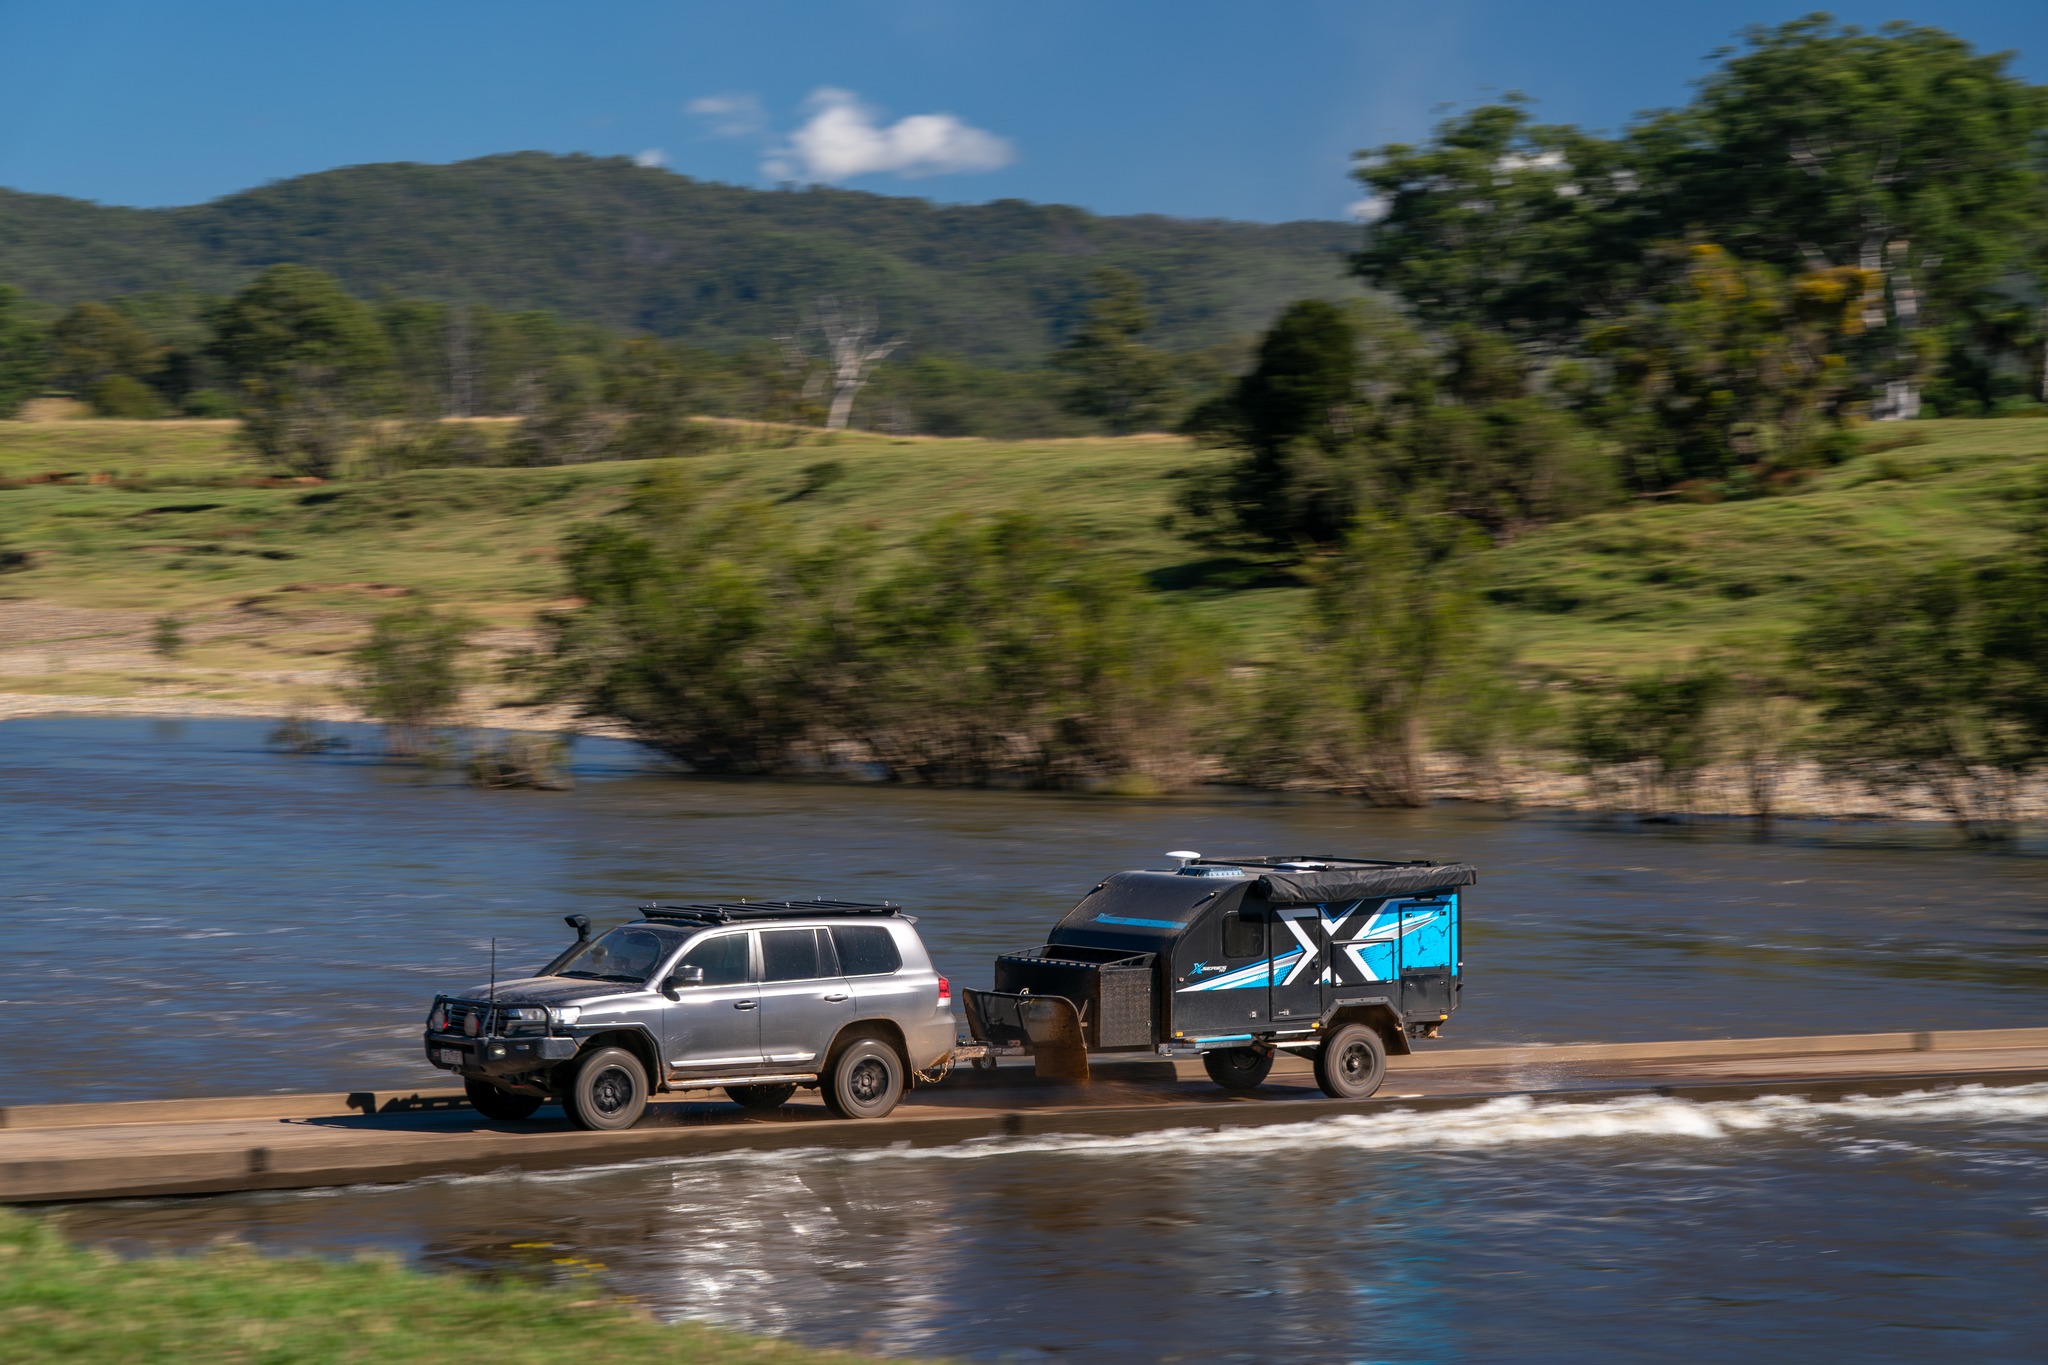
Hitching is the first step in setting up your camping trailer. Begin by aligning the hitch ball under the trailer coupler. Lower the trailer onto the hitch ball using the jack. Secure the hitch with a locking pin and connect the safety chains in a crisscross pattern. Finally, plug in the trailer’s electrical connection to the tow vehicle.
Leveling Your Camper Trailer
Leveling your camper trailer is crucial for comfort and appliance functionality. Use a bubble level to check the levelness of your unit. Adjust the height by raising or lowering the front jack. Once the front is level, use leveling blocks or stabilizer jacks to level the sides. Always check the levelness in both directions.
Setting Up the Interior
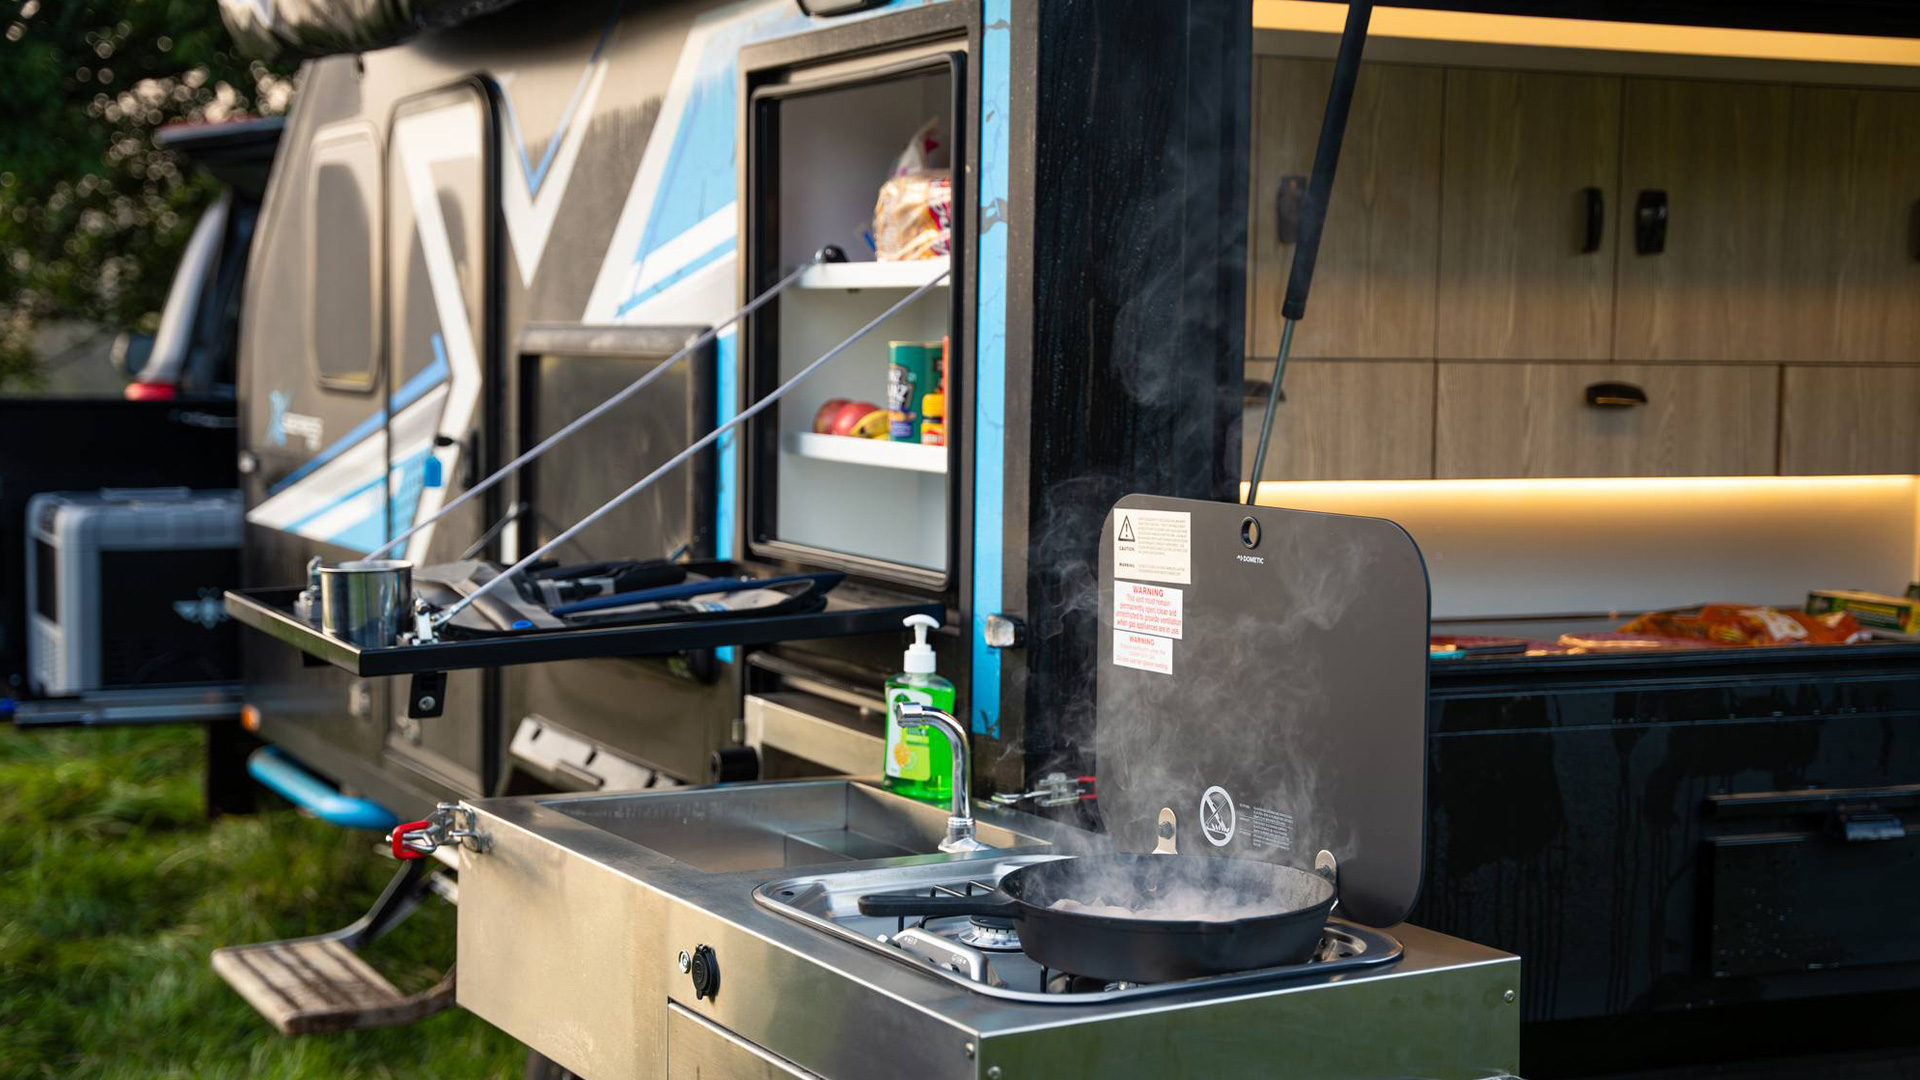
After hitching and leveling, set up the interior of your travel trailer. Extend any slide-outs and secure them in place. Arrange the furniture and appliances as needed. Ensure that all cabinets and drawers are securely closed to prevent shifting during travel.
Connecting Utilities
Next, connect your RV to available utilities. Hook up the fresh water hose to the water inlet. Attach the sewer hose to the drain outlet and connect it to the campground sewer system. Plug in the electrical cord to the power pedestal. If available, connect the cable or satellite TV.
Cleaning Your Camper Trailer
Regular cleaning keeps your camper trailer in top condition. Sweep and mop the floors regularly. Wipe down surfaces with a mild cleaner. Clean the windows and check for any signs of leaks. Empty the waste tanks and rinse them thoroughly after each trip. Maintaining cleanliness helps prevent wear and tear.
Winterizing Your Camper Trailer
Winterizing protects your RV from cold weather damage. Drain all water from the pipes, tanks, and water heater. Add non-toxic antifreeze to the water system. Remove any perishable items and disconnect the battery. Cover the trailer with a breathable cover to shield it from the elements.
Regular Maintenance Checks
Routine maintenance ensures the longevity of your camper trailer. Check the tire pressure before each trip. Inspect the roof and seams for cracks or leaks. Test the brakes and lights for proper functioning. Lubricate moving parts like the hitch and jacks. Regular maintenance helps identify and fix issues early.
Maintaining the Exterior
The exterior of your RV also needs attention. Wash the exterior with a mild detergent and water. Inspect the seals around windows and doors for damage. Apply a UV protectant to prevent fading and cracking. Regular exterior maintenance enhances the appearance and value of your trailer.
Storing Your Camper Trailer
Proper storage extends the life of your camper trailer. Choose a dry, covered area to protect it from weather elements. If indoor storage is unavailable, use a high-quality cover. Raise the trailer on blocks to take the weight off the tires. Ventilate the interior to prevent mold and mildew.
Owning a camper trailer opens up a world of adventure. Proper setup and maintenance are key to a safe and enjoyable experience. Follow these tips to keep your camper trailer in excellent condition for many trips to come.